 Block
BlockHow to Split Image into Multiple Pieces
Learn how to split any image into multiple pieces, grids, or triptych panels online without losing quality.
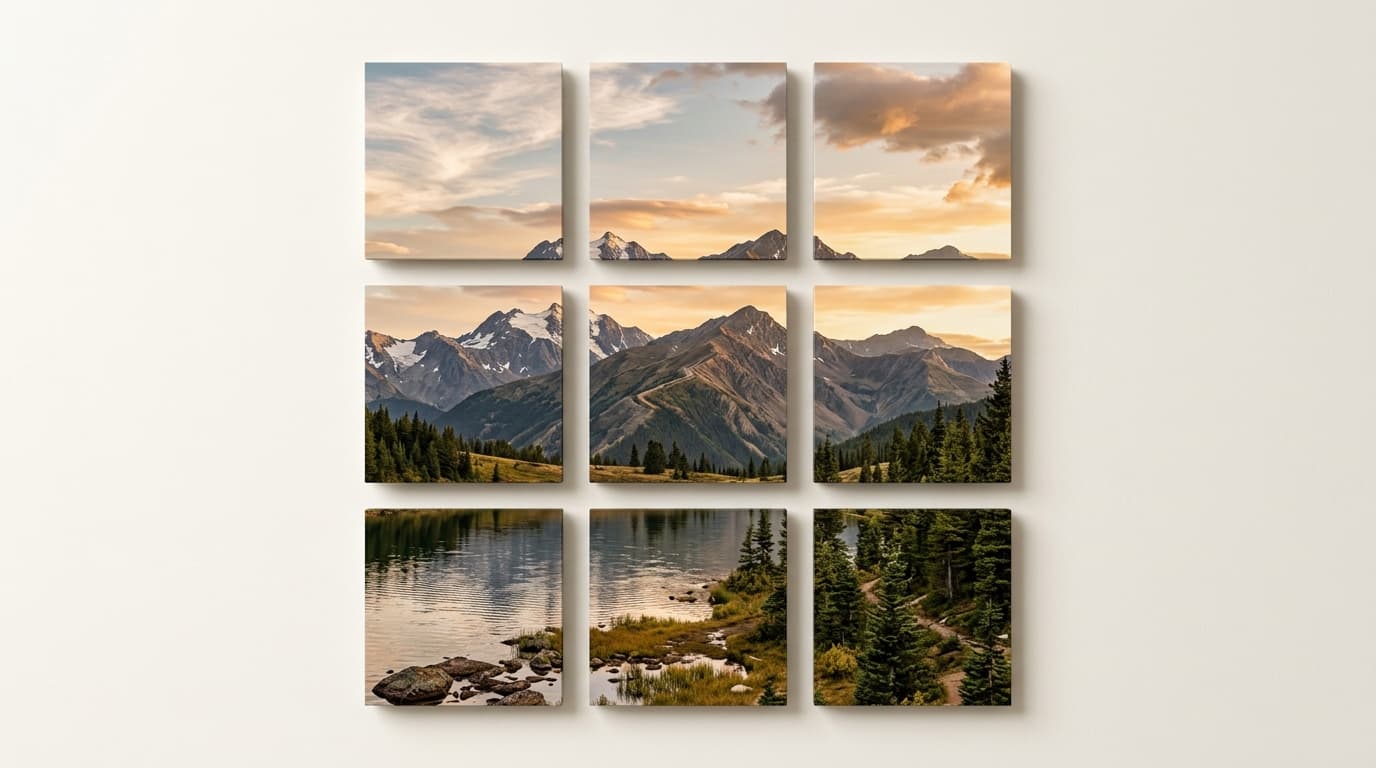
Whether you want to create a stunning 3-panel triptych for your living room wall, design an eye-catching 3×3 puzzle grid for your Instagram profile, or divide an oversized blueprint into manageable craft pieces, splitting an image into multiple pieces is one of the most useful graphic design techniques.
However, most tutorials online either instruct you to purchase expensive desktop editing software like Adobe Photoshop, or recommend ad-riddled mobile apps that aggressively downscale your high-resolution photos into blurry, low-quality JPEGs.
In this guide, we explore the science of image slicing, how to preserve native pixel clarity across every tile, and the exact methods to split any picture into equal parts, custom grids, or multi-panel wall art.
Popular Methods Compared: Which Should You Use?
There are several approaches to slicing photos, ranging from command-line scripts to dedicated browser tools. Here is how the most common methods stack up:
| Method | Best For | Quality Retention | Ease of Use | Cost & Privacy |
|---|---|---|---|---|
| Block Poster Split Image Tool | Quick grids, triptychs, and instant ZIP exports | 100% Lossless (Client-side HTML5 Canvas) | Instant (No software installation required) | Free, 100% Private (No server upload) |
| Photoshop / GIMP Slice Tool | Complex irregular layouts with web hyperlink mapping | Lossless (Full control over color profiles) | Steep learning curve, manual guide placement | Paid Adobe subscription or open-source desktop setup |
| Mobile Grid Apps | Quick casual Instagram uploads directly from phone | Moderate to Low (Often applies harsh JPEG compression) | Fast on mobile, but cluttered with banner ads | Free with ads, watermarks, or in-app purchases |
| Command-Line (ImageMagick) | Automated batch processing of hundreds of files | 100% Lossless | Requires terminal knowledge and scripting | Free, open-source |
For the majority of DIY decorators, photographers, and content creators, using a dedicated in-browser tool strikes the ideal balance between zero setup and professional output fidelity.
How to Split an Image?
You can slice any high-resolution image into equal pieces in seconds without installing software:
Step 1: Open the Free Split Image Tool
Navigate directly to the Split Image. There is no registration or account required.
Step 2: Upload Your High-Resolution Photo
Drag and drop your image file into the workspace. Because the slicing engine operates 100% locally within your web browser:
- Large 20MB+ camera RAW exports and ultra-high-resolution panoramas load instantly.
- Your photo is never sent across the internet to an external server, keeping private family pictures completely secure.
Step 3: Choose Your Slicing Geometry
Select how you want to divide your graphic:
- Equal Slices: Split into 2, 3, 4, or 5 equal vertical or horizontal strips.
- NxM Custom Grid: Specify the exact number of horizontal rows and vertical columns (e.g., 2×2, 3×3, or 4×5).
- Target Aspect Ratio: Lock tiles to specific standards such as 1:1 Square, 4:5 Portrait, or 16:9 Widescreen.
The live interactive preview displays sharp guide lines over your photo so you can inspect cut boundaries before exporting.
Step 4: Download Individual Tiles or a Batch ZIP
Once satisfied with the slice boundaries, click Download All as ZIP. Every image piece is exported in original uncompressed quality and labeled systematically (e.g., tile_1_1.png, tile_1_2.png) so you know the exact order during framing or posting.
Practical Tips for Physical Framing & Wall Mounting
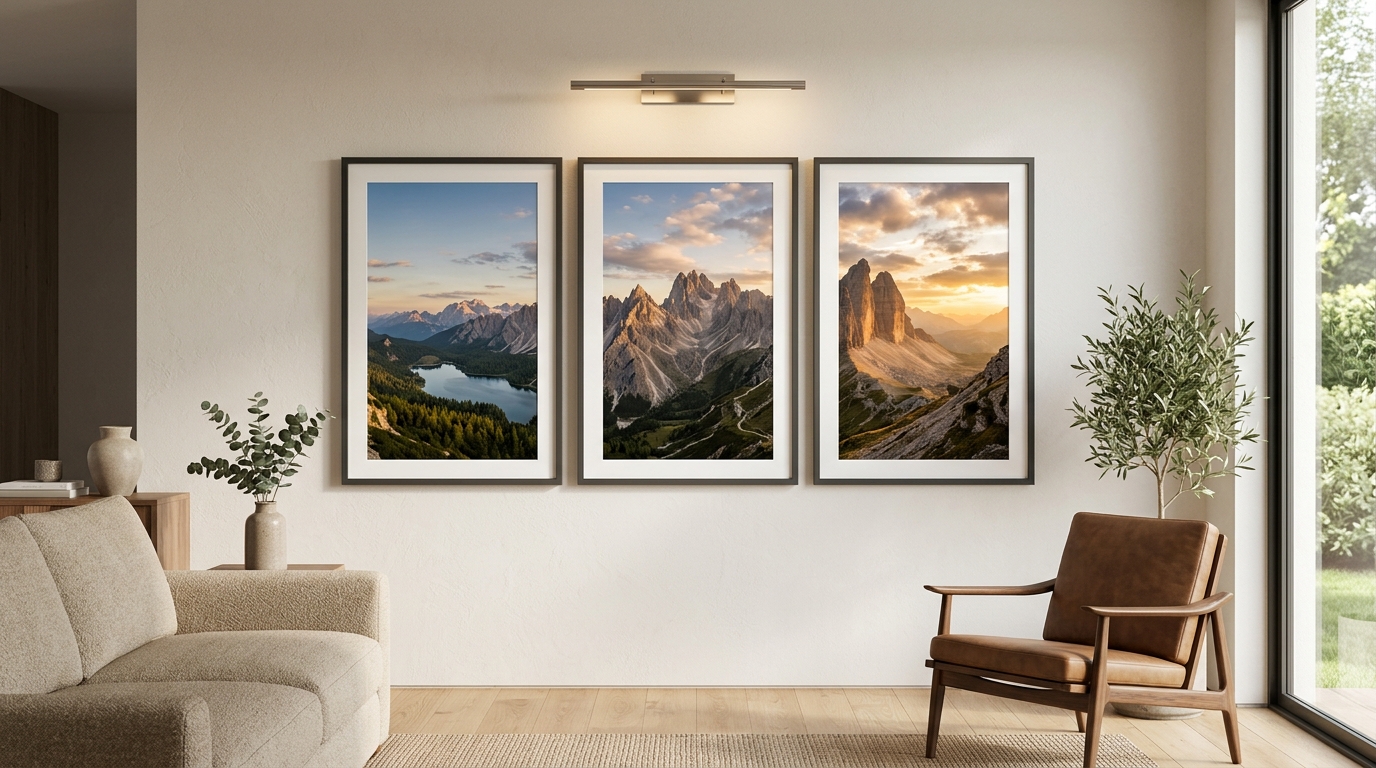
When printing your split pieces to hang as physical gallery art, keep these practical guidelines in mind:
- Account for Frame Gaps: If you hang a 3-piece triptych, you will likely leave 2 to 3 inches (5 to 7 cm) of wall space between each frame. Because your eye naturally connects the horizon line across the empty wall, you do not need to repeat image content along the cut edges.
- Uniform Paper & Matte Finishes: Use luster or matte photo paper rather than high-gloss stock. High-gloss finishes catch light reflections from different angles across multiple frames, which can disrupt the illusion of a single continuous photograph.
- Use a Bubble Level & Measuring Spacer: Cut a small cardboard strip matching your desired frame gap (e.g., 2.5 inches). When installing your wall anchors, hold this spacer between frames to guarantee flawless horizontal alignment without tedious tape measurements.
Summary Checklist
- Identify your output goal: Use 1×3 columns for triptych frames or carousels, and 3×3 grids for square Instagram murals.
- Preserve original resolution: Avoid mobile apps that downsample your files; use local client-side tools to maintain bit-for-bit clarity.
- Check sub-pixel alignment: Ensure your split tool does not drop fractional pixels, keeping seam lines imperceptible.
- Export as organized ZIP files: Numbered files make physical framing and sequential social media uploads error-free.
Split your photo into multiple pieces, grids, or slices right now.