 Block
BlockHow to Print a Large Image on Multiple Pages (3 Best Methods)
Compare the 3 easiest ways to print large pictures across multiple A4 or US Letter sheets.
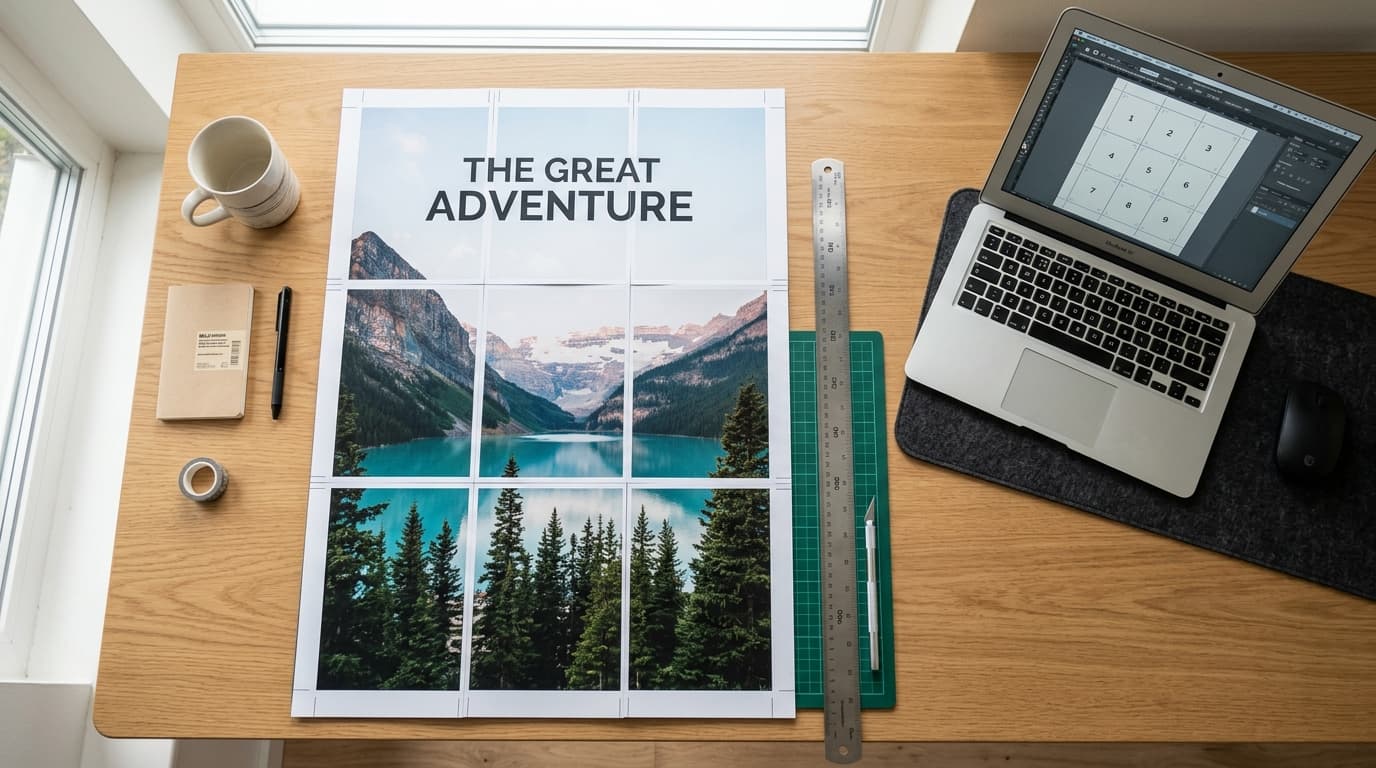
Printing an oversized photo, classroom display, panoramic landscape, or architectural blueprint doesn't require an expensive wide-format plotter. By using "tiled printing" (multi-page poster slicing), you can divide any digital image into a grid of standard A4 or US Letter sheets, print them on a home printer, and assemble them into a seamless wall mural.
However, different software tools handle page boundaries, printer margins, and overlap allowances in radically different ways. Choosing the wrong method often leads to clipped margins, distorted scaling, or missing sections along your seams.
Depending on your source file type and computer setup, here are the 3 best ways to print a large image across multiple pages, complete with step-by-step instructions, pros and cons, and technical recommendations.
Method 1: The Modern Online Tool (Block Poster) — Best for Photos & Wall Decor
If your source graphic is a digital photograph (JPG, PNG, or WEBP) and your goal is to create a clean wall mural or poster, a dedicated browser-based tool like Block Poster is the fastest and most foolproof route.
Why It Works Better Than Legacy Tools
Older web tools from the early 2000s required uploading massive image files to a remote server, introducing strict 5MB upload caps, lossy compression, and privacy risks. Block Poster operates 100% locally within your browser engine using HTML5 Canvas. Your high-resolution image never leaves your device, file sizes are unlimited, and original pixel quality is fully preserved.
Step-by-Step Instructions:
- Load Your Image: Open Block Poster and drop your image into the workspace.
- Select Paper Format & Orientation: Choose between US Letter and A4. Select Portrait or Landscape to match your picture's aspect ratio and minimize unnecessary seams.
- Set Target Width in Pages: Choose how many sheets wide you want your poster (e.g., 2, 3, 4, or 5 pages). The interface instantly computes the required rows and displays the finished physical dimensions in both centimeters and inches in real time.
- Configure Overlap Margin (5–10 mm): Consumer desktop printers cannot mechanically print all the way to the paper edge (hardware margins range from 3 mm to 5 mm). Use the Overlap Guideline slider to set a 5 mm or 10 mm overlap. This duplicates a narrow margin strip between adjacent tiles and prints faint guide marks, creating glue tabs so your poster won't have white gaps.
- Adjust the Visual Crop Frame: Drag the interactive crop handles on the preview screen to ensure tile seams do not cut directly through critical focal points, such as eyes or small lettering.
- Download and Print: Click Download Block Poster PDF. Open the file in your browser or PDF viewer and print at 100% Actual Size.
- Pros: 100% free, no installation, real-time physical measurements (cm/inches), custom overlap margins (0–20 mm), and complete browser privacy.
- Cons: Requires an internet connection to load the tool interface initially.
Method 2: Adobe Acrobat Reader (Poster Mode) — Best for Existing PDF Documents
If your file is already a single-page PDF document (such as a vector schematic, floor plan, engineering blueprint, or Canva vector export), the free desktop version of Adobe Acrobat Reader has a built-in multi-page tiling engine.
Unlike standard printing that forces documents down onto a single sheet, Acrobat's Poster mode divides the PDF canvas into a virtual grid and automatically places cut marks on outer margins.
Step-by-Step Instructions:
- Open Your Document in Acrobat: Launch the free Adobe Acrobat Reader desktop app and open your PDF file.
- Launch the Print Dialog: Press Ctrl + P on Windows or Cmd + P on Mac.
- Switch to "Poster" Sizing: In the middle section under Page Sizing & Handling, click the Poster button.
- Configure Scale and Overlap:
- Tile Scale: Enter an enlargement percentage. For example,
200%doubles both width and height, distributing output across 4 sheets (a 2×2 grid). - Overlap: Enter a specific measurement for the overlapping margin (e.g.,
0.2 inor5 mm) to create a shared border zone for gluing adjoining sheets together. - Cut Marks: Check the box for Cut marks so Acrobat prints crosshairs and sheet labels on the margins to guide your trimming.
- Tile Scale: Enter an enlargement percentage. For example,
- Inspect Preview and Print: Review the preview window on the right side to confirm the total sheet count, then click Print.
- Pros: Pre-installed on millions of computers, excellent for vector PDFs, and generates precise registration cut marks automatically.
- Cons: Calculating final physical dimensions is unintuitive (uses percentage scaling rather than physical dimensions in inches/cm); requires converting raw JPG/PNG files into PDF before use; no interactive visual cropping handles.
Method 3: Windows Paint — The Offline Emergency Hack
If you are on a Windows computer with no internet access and no dedicated PDF software installed, Microsoft Paint contains an often-overlooked multi-page tiling setting.
Windows Paint uses the operating system's legacy print subsystem to define a fixed page grid count directly inside the Page Setup dialog.
Step-by-Step Instructions:
- Open Image in Paint: Right-click your image file in File Explorer, select Open with, and choose Paint.
- Access Page Setup: Click the top-left File menu, hover over Print, and select Page Setup.
- Configure the Page Grid:
- Under the Scaling section on the right, select the radio button labeled Fit to:.
- Enter your target page count (for example, enter
2 by 2 page(s)for a 4-sheet grid, or3 by 3 page(s)for 9 sheets).
- Minimize Margins: In the Margins section, set all four values (Left, Right, Top, Bottom) to the minimum allowed by your printer driver (typically
0.25 inor5 mm) to reduce wasted whitespace. - Review in Print Preview: Click OK, then go to File ➔ Print ➔ Print Preview to inspect each sheet before printing.
- Pros: Pre-installed on every Windows PC; works completely offline with zero software downloads.
- Cons: No overlap support whatsoever. Because desktop printers cannot print to the absolute edge of paper, Paint drops content that falls into hardware margins, causing missing slivers of your graphic along physical seams. Also lacks physical dimension previews and crop tools.
Comparison: Which Method Fits Your Exact Project?
| Feature | Block Poster (Online) | Adobe Acrobat Reader | Windows Paint |
|---|---|---|---|
| Best Project Type | Photos, Wall Murals, DIY Art | Vector Blueprints, CAD, PDFs | Quick offline text/diagram prints |
| Supported Formats | JPG, PNG, WEBP | PDF only | JPG, PNG, BMP, TIFF |
| Real-time Dimensions | Yes (Exact cm & inches) | No (Percentage scale only) | No (Page grid count only) |
| Custom Overlap Margins | Yes (0–20 mm slider) | Yes (Manual entry) | No (Leaves white gaps/lost pixels) |
| Visual Cropping Viewport | Yes (Interactive handles) | No | No |
| Software Installation | None (Direct in browser) | Desktop app required | Built into Windows OS |
| Assembly Alignment Ease | High (Coordinates included) | High (Cut marks included) | Low (Manual guesswork) |
The Golden Rules for Tiled Multi-Page Printing
Regardless of which tool you use to split your image, keep these three physical assembly rules in mind:
- The 100% Scale Rule: In your printer's final print dialog, verify page scaling is set to 100% (Actual Size). Never select "Fit to Printable Area" or "Shrink Oversized Pages", as printer drivers will shrink your tiles by 3% to 6%, throwing off calculated overlap seams.
- Choose the Right Paper Stock: Standard 20 lb (75 gsm) copy paper easily wrinkles when glue is applied. For crisp wall murals that lay flat, use 24 lb to 28 lb (90–105 gsm) bright white presentation paper or light cardstock.
- The "One-Edge Only" Trimming Technique: When joining adjacent sheets horizontally, cut off the white border on the right edge of Sheet 1 cleanly along the printed guide line, while leaving the overlap tab on Sheet 2 intact. Apply dry glue stick across Sheet 2's overlap tab, align the marks, and press flat. Assemble complete horizontal strips first, then join rows vertically.