 Block
BlockHow to Choose Image Resolution for Large Posters
Learn how to choose the right image resolution and DPI for large wall posters to ensure your multi-page poster prints are crisp and clear.
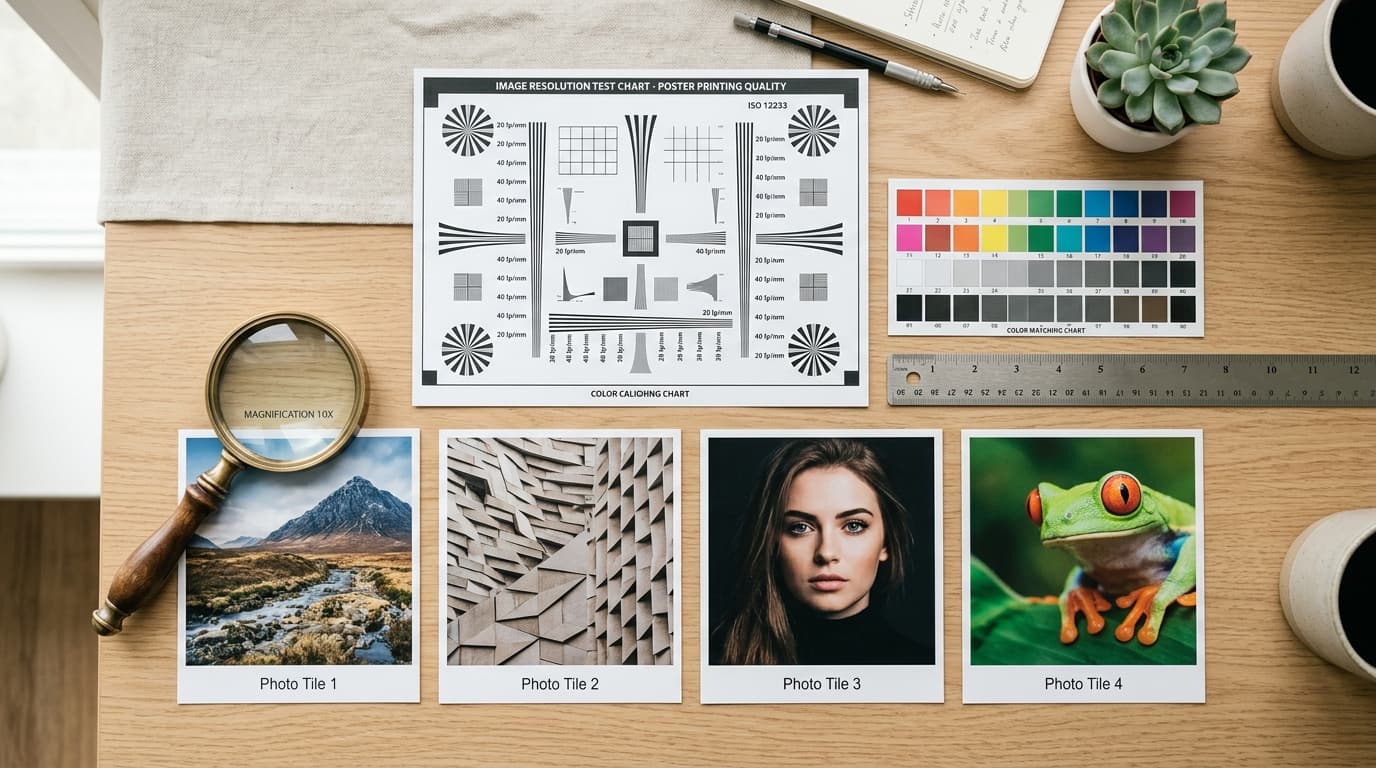
When planning to print a large wall poster, panoramic landscape, or multi-sheet classroom display, the single most common concern is image quality: Will my photo look sharp and clean when enlarged across multiple sheets of paper, or will it turn into a blurry, pixelated mess?
Most graphic design blogs give an oversimplified answer: "Always use 300 DPI." But for large-format wall art, that rule is not only misleading—it is physically impractical. A 48 × 72 inch wall mural at 300 DPI would demand an astronomical 311-megapixel image file, which exceeds the capabilities of even commercial cinema cameras.
In reality, perceived sharpness is determined by a combination of source pixel dimensions, physical print size, and viewing distance. Here is the complete technical guide to choosing the ideal image resolution for large posters without getting trapped by common misconceptions.
The 300 DPI Myth & The Human Eye Formula
The "300 DPI" rule comes from commercial offset book and magazine publishing. When holding a brochure 10 to 14 inches (25 to 35 cm) from your eyes, a healthy human eye with 20/20 vision can resolve details down to roughly 1 arcminute (1/60th of a degree). At that reading distance, dots spaced at 300 dots per inch blend into smooth, continuous tone.
However, nobody looks at a 4-foot wall poster from 12 inches away with a magnifying glass. As you step back to take in a large poster, your eye's angular resolution covers a wider physical area on the paper.
You can calculate the true required resolution using the optical visual acuity formula:
Optimal DPI ≈ 3,438 / Viewing Distance (in inches)
Viewing Distance vs. Required DPI Chart
| Viewing Distance | Perceived Quality Standard | Recommended DPI | Typical Application |
|---|---|---|---|
| Handheld (1.0 – 1.5 ft / 30 – 45 cm) | Magazine / Fine Art Book | 250 – 300 DPI | Photo albums, brochures |
| Close Wall Display (2.5 – 3.5 ft / 75 – 100 cm) | Gallery Framing / Desk Wall | 150 – 180 DPI | Living room portraits, office art |
| Standard Room (4.0 – 6.0 ft / 1.2 – 1.8 m) | Living Room / Classroom Wall | 100 – 120 DPI | Multi-page block posters, maps |
| Large Hallway (8.0 – 12.0+ ft / 2.5 – 3.5+ m) | Stage Backdrop / Trade Show | 60 – 85 DPI | Event banners, giant murals |
For a multi-page block poster viewed from 4 to 6 feet away, an effective resolution of 100 to 120 DPI is visually indistinguishable from 300 DPI.
How Many Megapixels Do You Actually Need?
To know if your photo is large enough, calculate the relationship between physical inches and digital pixels:
Pixels Needed = Print Size in Inches × Target DPI
For example, to print a 24 × 36 inch poster (roughly 3 pages wide by 3 pages tall on Letter/A4 paper) at 120 DPI:
- Width: 24 in × 120 DPI = 2,880 pixels
- Height: 36 in × 120 DPI = 4,320 pixels
- Total Pixels: 2,880 × 4,320 = 12.4 Megapixels
A standard 12-megapixel photo from an iPhone or modern Android smartphone hits this benchmark natively without artificial upscaling.
Poster Size, Multi-Page Grid & Resolution Guide
| Finished Poster Size | Grid Setup (Pages Wide) | Minimum Pixels | Recommended Megapixels | Compatible Source Camera |
|---|---|---|---|---|
| Medium (approx. 16 × 24 in) | 2 sheets wide | 1,920 × 2,880 px | 6 – 8 MP | Any modern phone or compact camera |
| Large (approx. 24 × 36 in) | 3 sheets wide | 2,880 × 4,320 px | 12 – 16 MP | Standard smartphone / entry DSLR |
| Extra Large (approx. 33 × 48 in) | 4 sheets wide | 3,600 × 5,400 px | 18 – 24 MP | Mid-range mirrorless / DSLR |
| Giant Mural (approx. 42 × 60+ in) | 5+ sheets wide | 4,500 × 6,800 px | 24 – 36+ MP | High-res camera / RAW / 4K graphic |
How Aspect Ratio Influences Print Quality
Megapixels alone do not tell the whole story; aspect ratio also determines how sharp your tiled poster will look.
Most smartphone cameras capture in a 4:3 ratio, DSLR cameras shoot in 3:2, and video stills or digital wallpapers use 16:9.
Standard paper formats also have defined ratios:
- US Letter (8.5 × 11 in): Ratio of approximately 1:1.29.
- A4 (210 × 297 mm): Ratio of 1:1.414.
If you force a wide 16:9 panoramic graphic onto a 2-page wide portrait grid without cropping, you will get large white letterbox margins, wasting printable area and lowering your effective resolution. Always align your paper orientation (Landscape vs. Portrait) with your photo's natural geometry to maximize every pixel.
The 3-Step Pre-Flight Quality Check
Before printing all 9, 16, or 25 sheets of your poster, follow this 3-step check to verify quality:
- The 100% Zoom Monitor Test: Open your image on your desktop monitor. Zoom in to 100% Actual Pixels (1:1 zoom), then stand back 3 to 4 feet. If details look clean and recognizable without distracting pixel squares, your image is ready for print.
- Watch for Compression Artifacts: Check areas with high contrast (such as dark text against a light sky). If you see "mosquito noise" (fuzzy halo rings), the file has been re-compressed (common with images downloaded from WhatsApp or social media). Always source original files directly from your camera roll.
- Do a Single-Page Test Print: In Block Poster, generate your PDF, pick a single page containing a focal point (like a face or text), and print just that one page. Hold it up on your wall and evaluate it from your normal standing distance before printing the whole set.
Summary Checklist
- Forget 300 DPI for wall posters: 100 to 150 DPI is the true sweet spot for wall displays viewed from 3 to 6 feet away.
- Calculate pixels, not file size: Check pixel dimensions (
Pixels = Inches × 120). A 12–16 megapixel photo is plenty for a 24 × 36 inch poster. - Match paper orientation to image shape: Use landscape paper for wide panoramas and portrait paper for vertical shots.
- Use local browser slicing: Use Block Poster to ensure your source file is rendered without cloud compression or size limits.
Turn your photo into a wall-ready poster right now.