 Block
BlockHow to Split an Image for Instagram Grid?
How to split photos into 3x3 profile grids and seamless 3x1 swipe carousels for Instagram. Learn upload order, resolution specs, and avoid grid shift.
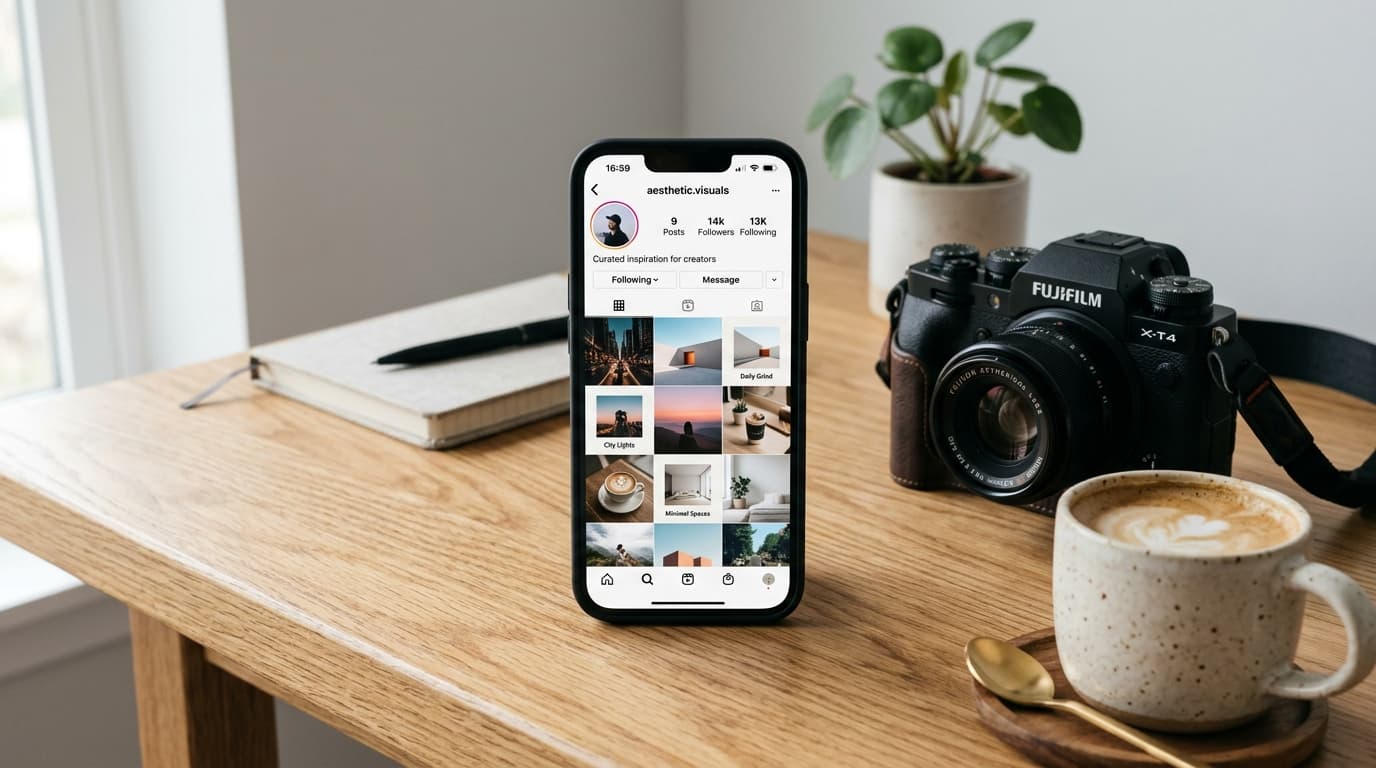
When you land on a creator's or brand's Instagram profile and see a stunning high-resolution photograph spanning across nine synchronized square posts (a 3×3 grid), the visual impact is immediate. Similarly, in the home feed, swiping through a seamless 3-slide panoramic carousel (a 3×1 split) creates an immersive storytelling experience that standard single-photo posts cannot match.
However, executing this layout without the right tools often leads to common creator frustrations: scrambled posting orders, blurry compression artifacts, and the dreaded "grid shift" where future posts tear your visual mural apart.
In this guide, we break down the exact specifications for 3×3 and 3×1 Instagram splits, explain the upload order logic, and demonstrate how to slice your photos cleanly using Split Image.
3×3 Profile Grid vs. 3×1 Seamless Carousel: Which Should You Use?
While both formats involve dividing a single graphic into equal parts, they serve completely different strategic purposes on Instagram:
The 3×3 Profile Grid (Visual Branding & Launches)
A 3×3 grid splits one large square graphic into 9 individual posts (tile_1 through tile_9). When viewed on your account profile, the 9 tiles assemble into a massive, eye-catching billboard.
- Best For: Brand launches, album announcements, portfolio showcases, and major visual rebrands.
- Where It Lives: On your profile grid. Individually, each tile appears in your followers' feeds as an abstract piece of the whole.
The 3×1 Seamless Carousel (Feed Engagement & Dwell Time)
A 3×1 split divides a wide panoramic photo into 3 horizontal slides published together inside a single multi-photo carousel post. When users swipe left, the landscape continues across the screen without white lines or borders.
- Best For: Landscape photography, architectural tours, travel panoramas, and step-by-step infographics.
- Where It Lives: Directly in the home feed. Because users swipe multiple times, Instagram's algorithm registers higher "dwell time," boosting your post reach.
Instagram Resolution Specifications & Grid Matrix
Instagram enforces strict compression algorithms. If you upload a file that is too small, Instagram upscales it, resulting in pixelation. If you upload an excessively massive 50MB file, Instagram's mobile compressor degrades fine details and gradients.
To guarantee razor-sharp clarity, match your master image to these native Instagram pixel dimensions:
| Layout Format | Target Aspect Ratio | Recommended Master Dimensions | Individual Tile Dimensions | Number of Slices |
|---|---|---|---|---|
| 3×3 Profile Grid | 1 : 1 Square | 3,240 × 3,240 px | 1,080 × 1,080 px each | 9 square tiles |
| 3×1 Seamless Carousel | 3 : 1 Ultrawide | 3,240 × 1,080 px | 1,080 × 1,080 px each | 3 square slides |
| 3×1 Portrait Carousel | 12 : 5 Panoramic | 3,240 × 1,350 px | 1,080 × 1,350 px (4:5 ratio) | 3 tall portrait slides |
| 3×2 Profile Banner | 3 : 2 Landscape | 3,240 × 2,160 px | 1,080 × 1,080 px each | 6 square tiles |
Why 1,080 Pixels? Instagram displays all standard feed images at a native maximum width of 1,080 pixels. By preparing your 3-column splits at exactly 3 × 1,080 = 3,240 pixels wide, each sliced tile lands at a clean 1,080px with zero downsampling blur.
The Reverse Upload Order Protocol (Avoid Scrambled Grids)
The single most common mistake when publishing a 3×3 grid is uploading tiles in normal left-to-right order (Tile 1 first).
Because Instagram organizes profile feeds chronologically—placing your newest post at the top-left—uploading Tile 1 first will leave it pushed down to the bottom-right corner, completely scrambling your picture.
To ensure your 3×3 image displays correctly on your profile, you must post in strict reverse chronological order:
Visual Layout on Your Profile:
[ Tile 1 ]  [ Tile 2 ]  [ Tile 3 ]   <-- (Top Row: Upload LAST)
[ Tile 4 ]  [ Tile 5 ]  [ Tile 6 ]   <-- (Middle Row)
[ Tile 7 ]  [ Tile 8 ]  [ Tile 9 ]   <-- (Bottom Row: Upload FIRST)
How to Split Your Image with Split Image
You can slice your master image into a 3×3 grid or 3×1 carousel in under a minute without installing third-party mobile apps:
Slicing a 3×3 Profile Grid
- Go to Split Image.
- Drag and drop your high-resolution square image (ideally 3,240 × 3,240 px).
- Select Grid (NxM) and enter 3 Rows and 3 Columns.
- The interactive preview displays cut lines over your photo. Verify that critical focal points (like faces or logos) do not sit awkwardly on a seam.
- Click Download All as ZIP. All 9 lossless PNG tiles are saved instantly to your device.
Slicing a 3×1 Seamless Swipe Carousel
- In Split Image, upload your panoramic photo.
- Under Slicing Mode, select Equal Slices and choose 3 Vertical Strips (or set 1 Row × 3 Columns).
- Check the preview lines to ensure the continuous horizon flows naturally across all three panels.
- Export your tiles, transfer them to your phone, and select all three in sequence when creating a new Carousel post on Instagram.
Summary Checklist
- Use the 3,240px rule: Export your master image at 3,240px wide so each of the 3 tiles matches Instagram's native 1,080px standard.
- Upload in reverse for 3×3 grids: Post Tile 9 first and Tile 1 last to prevent a scrambled profile.
- Export clean uncompressed tiles: Use Split Image to slice files locally in your browser with zero cloud compression.
Split your photo into multiple pieces, grids, or slices right now.